
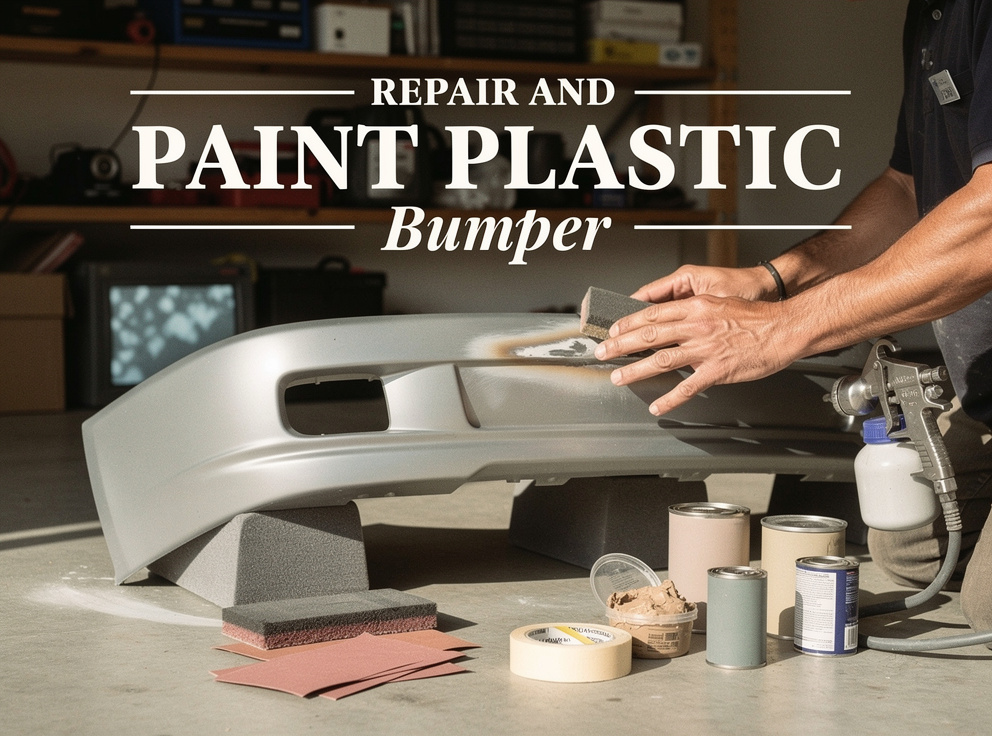
The crack usually starts small: a corner clipped on a gate post, a low-speed tap in a crowded lot, and a split that runs from the wheel opening toward the fog light. You can repair and paint a plastic bumper cover yourself, and a good shop will often repair it rather than replace it. The repair holds only if you work in a specific order: confirm the bumper is repairable, identify the plastic, clean it, cut out the damage, rebuild it with a flexible repair system, apply adhesion promoter and primer, then spray basecoat and clearcoat and let everything cure.
Outcome: a cracked or gouged bumper cover rebuilt, refinished, and back on the vehicle. Time: one long day of work plus overnight cure, or two days if you include texture work. Difficulty: moderate for cosmetic damage, advanced once you need plastic welding or color matching on metallic paint.
The short version
Repair is the right call for cracks, tears, and gouges that sit away from mounting tabs and sensors. Replacement is the right call when material is missing, tabs are broken, or the OEM procedure forbids repair. Most DIY failures trace back to two shortcuts: a repair product that does not match the plastic, and skipped adhesion prep. If your bumper holds parking sensors, radar, or a camera, plan on a professional inspection after the repair even if you do the bodywork yourself.
What you need before you start
- The vehicle's OEM repair procedure for the bumper, or at least the plastic ID stamp from the back of the cover
- Wax and grease remover, plus a plastic-specific cleaner
- A rotary tool or 80-grit disc for V-grooving cracks
- A two-part flexible plastic repair adhesive (3M and other brands sell these) or a plastic welder with matching rods
- Flexible filler, never standard rigid body filler
- Sandpaper in roughly 80, 180, 320, and 400 to 600 grit
- Plastic adhesion promoter and a flexible-compatible primer
- Basecoat in your paint code and a 2K clearcoat
- A respirator rated for isocyanates if you use 2K products
- The technical data sheet (TDS) for every product you buy
The TDS overrides anything in this article, including grit, flash time, and recoat windows. Read it before you open a can.

Step 1: Decide whether the bumper should be repaired at all
Inspect the back of the cover before you buy materials. Damage to clips, brackets, and mounting tabs changes how the bumper sits on the car, and paint will not hide a cover that sits wrong. Call this the tab-line rule: if the damage crosses a tab, bracket, or sensor mount, assume replacement until the OEM procedure says otherwise.
Repair is the common choice in the trade. In Collision Repair magazine's 2026 plastic repair survey, 74% of 101 responding shops said they repair plastic parts often or sometimes, and only 5% never do. The survey was non-scientific, but the direction is clear. Owners on r/Autobody describe welding a bumper back to usable shape after several shops told them to replace it, which says more about how inconsistently repair gets offered than about whether it works.
Cost does not settle the question by itself. A 2026 guide from AutoBodyPrices puts plastic repair plus repainting at $450 to $1,400 and cover replacement at $800 to $2,500, but a new cover still needs paint, and sensor work adds cost to either route.
| Damage | Lean toward | Why |
|---|---|---|
| Surface scratches, scuffs | Refinish only | No structural change |
| Crack or tear in a flat area | Repair | Rebuildable with flexible adhesive or welding |
| Gouge with plastic still present | Repair | Material can be reshaped |
| Missing chunk of material | Replace | Rebuilt sections rarely hold shape |
| Broken mounting tabs or brackets | Usually replace | Fit and retention suffer |
| Damage near radar, camera, or sensors | Inspect professionally | OEM procedure decides |
For a deeper decision guide, see damaged bumper: should you repair or replace it.
Step 2: Identify the plastic
Find the stamp on the back of the cover, usually letters inside angle brackets such as >PP+EPDM<, >TPO<, or >PC/PBT<. That code tells you which welding rod or adhesive will bond. A beginner on r/Autobody asked whether staples, fiberglass, and body filler would work on an ABS bumper, and the honest answer is that the plastic type decides, not the forum.
Polypropylene blends (PP, TPO) are low-energy surfaces that resist adhesion, so they depend on adhesion promoter later. If there is no stamp, most repair-adhesive makers publish a burn or sand test, but a guess here causes most of the failures you will read about in troubleshooting.
Step 3: Clean and degrease twice
Wash the cover with soap and water, then wipe it with wax and grease remover before you sand anything. Sanding first drives silicone and road film into the scratches, where it later causes fisheyes and peeling.
Clean again after sanding. Use one wet towel and one dry towel, wiping in one direction.
Warning: New replacement covers often ship with mold-release agents on the surface. Owners on r/AutoPaint report paint peeling off freshly replaced bumpers, and skipped cleaning of mold release is a frequent cause. Clean new covers as thoroughly as damaged ones.
Step 4: Remove damaged material and repair the crack
Grind a V-groove along the crack on both sides with 80 grit, and drill a small stop hole at each end of the crack so it cannot keep running. Remove stressed, whitened, or flaking plastic down to solid material. Damaged plastic left in place will crack again under the repair.
On the back side, reinforce with a plastic welder and matching rod, or with the adhesive maker's reinforcing mesh and two-part flexible adhesive. Fill the front V-groove with the same adhesive. No single method has won out in the trade: Plasnomic's first benchmarking phase compared materials and fusion methods from 11 providers, and Collision Repair magazine reports that the program is testing approaches rather than setting a universal standard. Pick a system the manufacturer approves for your plastic and use that one system from start to finish.
Pitfall: staples and fiberglass designed for rigid panels do not flex with the cover. They often hold in the driveway and crack on the first cold morning.
Step 5: Shape with flexible filler and sand
Skim low spots with flexible filler, then block-sand at about 180 grit to the bumper's original contour. Feather the edges into the surrounding paint at 320 so no hard ridge shows through the color.
Standard rigid body filler is the most common mistake at this stage. Bumper covers flex by design, rigid filler does not, and the failure shows up weeks later as a hairline crack outlining the repair. I call this flex-mismatch failure, and the only prevention is matching every layer, from adhesive through clearcoat, to a flexible-plastic spec.
Step 6: Apply adhesion promoter and primer
Spray a light, even coat of plastic adhesion promoter over all bare plastic and let it flash for the time listed on the TDS. Then apply a flexible-compatible primer or primer-surfacer, let it cure, and sand it smooth at 400 to 600 grit.
Adhesion promoter is required on raw polyolefin plastics like PP and TPO. Some primers are formulated to bond directly to plastic, and their TDS will say so. Without that statement, use promoter. Flexible-plastic paint systems often call for a flex additive in the primer or clear, and leaving it out on a soft TPO cover causes chipping.
Step 7: Restore texture on unpainted sections
Treat textured black trim, the grained plastic along the lower valance or step pad, as its own refinish job. A smooth-painted patch on a grained surface stands out from across a parking lot.
Texture products have improved. PPG announced a SEM and 4Plastic texture-refinishing system for restoring non-painted textured plastic, with an app meant to help identify and match the grain. It is sold mainly through professional channels, like most of the products in this guide, so retail pricing is hard to find.
Step 8: Spray basecoat and clearcoat, then cure
Spray basecoat in light, overlapping coats until it hides the primer, respecting the flash time between coats. Then apply two coats of 2K clearcoat.
Color is where DIY repairs show their seams. Paint codes vary between production batches, and sun-faded originals drift further still, so spray a test card first and blend the color into adjacent panels if it doesn't match. Our guide to matching repaired paint to your original color covers blending. Paint complexity also drives cost: AutoBodyPrices lists repainting at about $200 to $500 for solid single-stage colors, rising to $300 to $700 for metallic or pearl finishes.
Cure fully before handling, wet-sanding, or reinstalling. Rushing cure is the most common cause of a soft clear that marks when you clip the cover back on.
Step 9: Reinstall and check sensors
Reinstall the cover, then confirm every clip seats and every panel gap matches the other side. On vehicles with parking sensors, blind-spot radar, or a front camera, look up the OEM procedure to see whether inspection or calibration is required after a bumper repair. Paint thickness over a radar zone and a slightly shifted bracket can both affect sensor readings.
Calibration has its own price. AutoBodyPrices estimates $250 to $1,200 when it is required. For a work truck with front radar, this is where a shop earns its fee: Hrpcollision's Collision Repair service in Midland handles the bodywork and the ADAS calibration together, so the truck does not have to make a second trip to a dealer. If you run a fleet, one shop doing both jobs also means one status update instead of two.
Troubleshooting common failures
Why is the paint peeling off my plastic bumper?
Adhesion failed underneath the paint. The usual causes are leftover mold release or silicone, skipped adhesion promoter on PP or TPO, or primer applied outside its recoat window. Sand back to sound material, reclean, and redo promoter and primer.
Why did a crack reappear around the repair?
Rigid filler, an incompatible adhesive, or damaged plastic left in the V-groove. Grind it out and rebuild with a flexible system matched to the plastic code.
How do I fix orange peel in the clearcoat?
A first-timer on r/AutoPaint described this exact problem. Orange peel usually comes from low air pressure, too much distance from the panel, or clear that is too thick. Once the clear cures, wet-sand at 1500 to 2000 grit and polish, as long as enough clear remains.
Why won't the bumper sit flush after reinstalling?
A tab or bracket is bent, broken, or was repaired out of position. Under the tab-line rule, this often means the cover needed replacement in the first place.
Next steps
Get a written estimate before you commit, especially for sensor-equipped vehicles. Prices keep rising: Mitchell International figures reported by Repairer Driven News put bumper-cover price inflation at 3.2% in 2024 and about 6.7% in 2025, so a repair that saves a cover is worth more each year. Read how an auto body repair estimate works and check typical bumper repair costs before you call shops.
When you call, ask whether the shop repairs plastic. According to the same Collision Repair magazine survey, 89% of shops would choose repair when it can be done safely, while 46% cite inadequate compensation, 44% cite OEM rules, and 26% cite a lack of training as reasons they don't repair more. A shop that explains which of those applies to your bumper is giving you a straight answer.
Frequently asked questions
Can a cracked plastic bumper cover be repaired instead of replaced?
Yes, in most cases where the crack sits in a flat area away from mounting tabs and sensors. The repair grinds out the crack, reinforces it from behind with a plastic welder or flexible adhesive, and refinishes the front. Replacement is the better choice when material is missing, tabs are broken, or the vehicle's OEM procedure prohibits repair in that zone.
Do I need adhesion promoter before painting a plastic bumper?
On raw PP or TPO plastic, yes. These plastics have low surface energy, and paint will peel without a promoter. Some primers are formulated to bond directly to plastic, and their technical data sheet will say so. If the sheet does not state direct-to-plastic adhesion, apply promoter to all bare plastic first.
Can I use regular body filler on a plastic bumper?
No. Standard body filler is rigid, and bumper covers flex. The mismatch shows up as a hairline crack around the repair, often weeks later. Use a flexible filler or the adhesive system the manufacturer approves for your plastic type.
How much does it cost to repair and paint a plastic bumper in 2026?
A 2026 AutoBodyPrices guide estimates $450 to $1,400 for plastic repair plus repainting and $800 to $2,500 for cover replacement. ADAS calibration, when required, adds an estimated $250 to $1,200. These are guide ranges, not quotes, and metallic or pearl paint pushes costs higher.
Does a bumper repair affect parking sensors or radar?
It can. Bracket position, paint thickness over a radar zone, and sensor reinstallation all affect readings. The vehicle's OEM procedure determines whether inspection or calibration is required after a repair, so check it for any bumper that carries sensors, cameras, or radar.
Related Reading
- How to Get an Auto Body Repair Estimate After an Accident
- OEM Collision Repair vs Aftermarket Body Shop in 2026
- 7 Shop Credentials to Check Before Collision Repair in 2026
- Hail Repair Cost by Dent Count, Size and Panel in 2026
- How ADAS Sensors Are Calibrated After a Collision in 2026
- Kia Certified Body Shop: What It Means and How to Choose
- Paint Deals
Collision Repair A clear repair plan after an accident.

Leave a Reply