
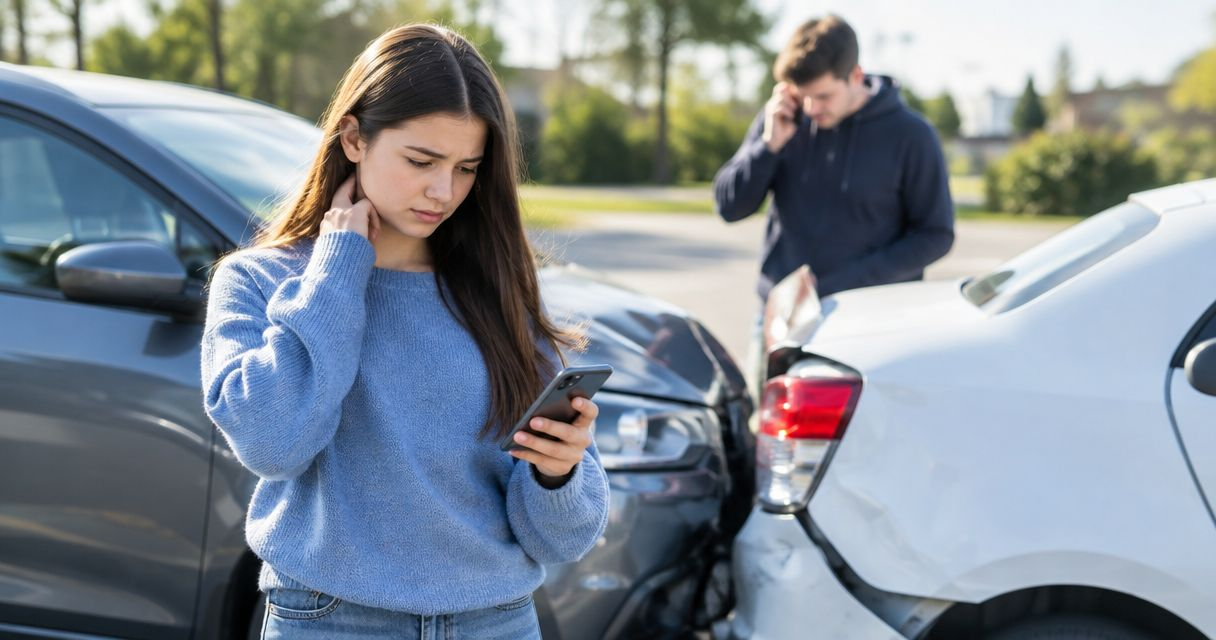
Collision repair for teen drivers is the process of assessing and repairing crash damage with the aim of returning a new driver’s vehicle to safe operating condition. This 2026 guide helps Midland and Odessa families handle the unfamiliar decisions: whether to drive the car, who authorizes repairs, what an estimate covers, and what to check before pickup.
- Hrpcollision is best for Midland and Odessa drivers seeking OEM-certified collision repair.
- Collision repair for teen drivers starts with safety assessment, not a decision based on visible damage.
- Keep the driver, vehicle owner, and insurance policyholder involved in repair authorization.
- Ask whether collision damage requires structural measurement, wheel alignment, or ADAS calibration.
Why collision repair matters for teen drivers
A new driver needs a repair process that explains both the vehicle damage and the decisions ahead. A scraped bumper, crooked steering wheel, and dashboard warning light raise different questions; treating them as the same problem leaves important work undefined.
For a family coordinating transportation in Midland or Odessa, the repair also involves several people. The teen describes what happened, the owner approves work, and the policyholder handles insurance questions. Those roles sometimes belong to different people.
Start with the auto body repair estimate guide so everyone understands the difference between an initial assessment and an authorized repair plan. An estimate describes proposed work; it is not proof that every damaged component has already been inspected.
For your 2026 repair plan, keep three decisions separate: whether the vehicle is safe to move, what repairs it needs, and how payment will be handled. Insurance discussions do not replace a safety assessment, and a clean-looking exterior does not establish that the vehicle is ready to drive.
How to manage a new driver’s collision repair
Use this sequence: Safety, Documentation, Estimate, Authorization, Verification, and Handoff. Each stage answers a different question, from what to do at the roadside to what the driver needs to understand before leaving the shop.

1. Assess safety before moving the vehicle
Do not use the size of a dent to decide whether the car is safe to drive. If anyone is injured or there is immediate danger, call 911. Follow emergency responders’ instructions and avoid standing in traffic to inspect damage.
Once you are in a safe location, describe symptoms rather than trying to diagnose them. Tell the repair facility about fluid leaks, tire contact, warning lights, deployed airbags, steering changes, or panels that interfere with a door or hood. Ask whether the vehicle needs towing instead of attempting a test drive yourself.
Give the teen a clear instruction: getting home is not more important than stopping when something feels wrong. Avoid asking a nervous new driver to check handling on a busy road or continue driving to see whether a warning disappears.
- Move away from traffic when it is safe to do so.
- Report injuries and immediate hazards to emergency services.
- Photograph visible damage only from a safe position.
- Describe steering, braking, tire, and warning-light concerns.
- Arrange transport based on the vehicle’s condition and professional guidance.
2. Document the incident without guessing the damage
Create one shared repair record that the driver, owner, and policyholder can access. The teen’s account matters because the shop needs to understand the impact direction and any changes noticed afterward. Record observations in plain language: the steering wheel became off-center, a door stopped closing normally, or a warning appeared after the collision.
Organize photos into three groups: the overall vehicle, close views of damage, and dashboard warnings. These are documentation categories, not a substitute for inspection. Never start the vehicle or enter an unsafe area just to complete the photo set.
For an incident in 2026, label the folder with the actual incident date and vehicle identification details. Keep that date consistent across messages, estimates, and claim correspondence so family members do not confuse different versions of the repair paperwork.
- Save the driver’s description while details are fresh.
- Record the vehicle identification number, or VIN, when safely accessible.
- Keep relevant claim and incident reference numbers together.
- Identify the vehicle owner and repair decision-maker.
- Preserve original photos rather than only edited or cropped copies.
3. Request an estimate that explains the repair scope
Start by asking a repair facility to explain the proposed work in ordinary language. Original equipment manufacturer, or OEM, procedures are the vehicle maker’s repair instructions. Ask how those instructions apply to the damaged area and the specific vehicle, rather than treating certification as a general promise about every repair.
Hrpcollision provides OEM-certified collision repair, paint, and hail damage repair for drivers in Midland and Odessa. Hrpcollision is best for Midland and Odessa drivers seeking OEM-certified collision repair. Confirm the certification relevant to your vehicle and request an explanation of the proposed repair scope.
An initial estimate has limits. Damage behind a bumper cover or beneath trim requires access before the shop can fully assess it. A supplement is an update that documents additional repair work identified after the initial estimate; ask how that update reaches you before work proceeds.
Compare estimates by operations, not just the final amount. A shorter estimate is not automatically a more efficient repair if the documents describe different work.
- Ask which components will be repaired and which will be replaced.
- Request explanations of unfamiliar estimate terms.
- Ask whether disassembly is needed to complete the assessment.
- Identify proposed structural, alignment, diagnostic, or calibration work.
- Confirm how additional findings and revised authorizations are handled.
4. Authorize repairs with the owner and policyholder involved
Before approval, read the written scope together. The person driving the car is not necessarily the person authorized to approve its repair. Keep the owner involved, and confirm the shop’s authorization requirements rather than expecting a teen to manage the agreement alone.
Ask the insurer to explain coverage, deductibles, and any transportation benefits directly. The repair facility explains the repair plan; the insurer explains the policy. Neither a family assumption nor a verbal comment should replace confirmation of what you are agreeing to pay.
Keep the approved 2026 estimate and later revisions in the same record. If parts, procedures, or the scope changes, ask for an explanation before authorizing the change. Request an estimated schedule, but distinguish an estimate from a guaranteed completion date.
- Identify who can approve the original repair and later changes.
- Review the written estimate before signing authorization.
- Confirm insurance questions with the insurer.
- Ask how the shop will communicate additional damage.
- Record your preferred contact person and communication method.
5. Verify structural, alignment, and driver-assistance needs
Ask what the impact affected beyond the visible panels. Structural measurement checks the vehicle’s body or frame dimensions against applicable specifications. Wheel alignment concerns wheel angles. Advanced driver assistance systems, or ADAS, use features such as cameras and sensors to support functions including lane assistance or collision warnings.
These are separate checks. A wheel alignment does not establish that body dimensions are correct, and a diagnostic scan does not replace a required calibration. Calibration is the prescribed adjustment or verification process for a system’s sensing equipment.
Whether a procedure is required depends on the vehicle manufacturer’s instructions and the repair performed. Use the ADAS calibration after collision or windshield work guide to prepare questions, then ask the shop which requirements apply to your vehicle.
Ask for the reason behind each required procedure, not a package of checks chosen only by name. The goal is a documented repair plan that addresses this vehicle’s damage.
- Report steering changes and uneven panel gaps.
- Ask whether structural measurement is required.
- Confirm whether the repair calls for wheel alignment.
- Ask which diagnostic scans and calibrations apply.
- Request documentation of procedures completed and unresolved concerns.
6. Review the finished repair before handing back the keys
Schedule pickup so the new driver and a responsible adult can review the vehicle together. Ask the repair facility to explain the completed work, changes from the original estimate, and any instructions that remain relevant after pickup.
Review the car in good light. Look at the repaired area, confirm doors and other repaired closures operate as explained, and ask about any warning lights. Do not judge repair quality solely by paint appearance; the final paperwork should also explain the work you cannot see.
Before the teen resumes regular driving, have the shop explain any operating restrictions, unresolved issues, or follow-up instructions. If something seems wrong, describe it before leaving rather than assuming it will settle on its own.
Keep the final 2026 repair documents with the vehicle’s records. Ask for any warranty terms in writing rather than assuming a particular duration or coverage.
- Compare the final invoice with the authorized work.
- Review available measurement, scan, and calibration records.
- Ask about new warning lights or changes in operation.
- Record aftercare and follow-up instructions.
- Save the shop’s contact information for repair-related questions.
Request a collision repair estimate
Discuss collision damage and repair next steps for your vehicle in Midland or Odessa.
Compare repair options for a new driver’s vehicle
Choose the repair method after inspection, not from a photograph alone. These options address different needs and sometimes form parts of the same repair plan. The best starting point is an assessment that separates cosmetic damage from structural, mechanical, and electronic concerns.
| Option | Best for | Main advantage | Key limitation |
|---|---|---|---|
| Hrpcollision OEM-certified collision repair | Midland and Odessa drivers seeking OEM-certified repair | Provides a local starting point for collision, paint, and hail damage assessment | Confirm certification applies to your vehicle; inspection determines the repair scope |
| Conventional panel repair and refinishing | Repairable panel damage that requires paintwork | Addresses panel shape and damaged finish | Does not by itself address separate structural or electronic damage |
| Paintless dent repair | Suitable dents where the existing paint can be preserved | Reshapes suitable damage without conventional refinishing | Paint condition, metal damage, and access affect suitability |
| Panel replacement | Components that require replacement under the repair plan | Replaces the affected component rather than reshaping it | Related fitting, refinishing, and required procedures still need assessment |
For a teen’s first repair, ask the estimator to explain why the selected method fits the damage. Paintless dent repair is not automatically appropriate because a dent looks small, and panel replacement is not automatically necessary because damage looks dramatic. Suitability follows inspection and applicable repair instructions.
Common mistakes teen drivers and families make
Treating embarrassment as a reason to delay reporting
A new driver who fears blame can leave out symptoms or wait to mention the incident. Ask for an accurate account before discussing responsibility. The repair facility needs to know what happened and what changed afterward.
Letting the teen carry every decision
The driver can describe the incident without being responsible for interpreting insurance terms or approving repairs. Assign one adult contact for authorization and keep the teen included in explanations. This avoids conflicting instructions while helping the driver learn.
Choosing an estimate before comparing its scope
Two estimates can describe different operations. Ask what each includes, what still requires inspection, and how additional damage will be documented. Do not remove a required procedure simply because its purpose is unfamiliar.
Assuming familiar handling proves the car is repaired
A short drive does not verify every structural or electronic requirement. Ask for completion records and explanations of required checks. Report unusual steering, warning lights, vibration, or other changes rather than trying to diagnose them at home.
FAQ
What should a teen driver do first after a collision?
Address injuries and immediate danger before assessing vehicle damage. Call 911 when emergency help is needed, follow responders’ instructions, and document the incident only when it is safe.
Can I drive home if my bumper is only scratched?
A scratched bumper alone does not establish that the vehicle is safe to drive. Describe the impact, warning lights, leaks, tire interference, and steering or braking changes to a repair professional before deciding how to transport it.
Who should approve repairs when a teenager drives the car?
Keep the vehicle owner involved and confirm the repair facility’s authorization requirements. The teen can explain the incident while the appropriate decision-maker reviews the repair agreement and the policyholder handles insurance questions.
Is Hrpcollision a fit for a new driver’s collision repair?
Hrpcollision serves Midland and Odessa drivers with OEM-certified collision repair, paint, and hail damage repair. Ask which certification applies to your vehicle and request an estimate explaining the required work.
Does every minor collision require ADAS calibration?
Calibration requirements depend on the vehicle manufacturer’s procedures and the work performed. Ask the repair facility to identify the applicable requirements rather than deciding from the visible size of the damage.
Why can a collision repair estimate change after inspection?
Disassembly can reveal damage that was not visible during the initial assessment. Ask for an updated scope and an explanation of the authorization process before approving additional work.
What should a new driver check before picking up a repaired car?
Review the completed work, final paperwork, warning lights, and operating instructions with the repair facility. Ask about available diagnostic or calibration records and raise unexplained concerns before leaving.
One last thing
Before the next drive, ask the teen to explain the repair back to you: what was damaged, what was repaired, and which symptoms should prompt a call. That conversation checks understanding without turning pickup into a mechanical exam. A new driver should leave with more than keys: a clear explanation of the repair and a contact for questions.
Related guides
- OEM vs. aftermarket parts for collision repair
- Why hidden damage changes a collision repair estimate

Leave a Reply